Showing posts with label Stampendous. Show all posts

Wednesday, November 11, 2020

The Coffee Lover's Bloghop Fall/Winter 2020 Day Six - Coloring Challenge

For Day Six of the Coffee Lovers Bloghop, and for the Daily Marker Coloring Challenge, I had to play with the Magic Iris Die from Lawn Fawn, and stamps from Stamplorations, Coffee Happy. Coloring on cups = Copics.

Please scroll down to see the video!
Thanks for stopping by. See you tomorrow!


(If the video below does not work for you, I am posting it to my Instagram page as well, jeanchaneyaz.)


Wednesday, November 20, 2019

House Mouse and Cookie Crumbles

Recently, I won this adorable stamp from sponsor Stampendous as part of the Coffee Lover's Bloghop, Cookie Crumbles. I could hardly wait to color it up!
I stamped onto Kraft and colored with Luminance colored pencils and edged with Distress Inks. The popped sentiment, from Waffle Flower, was heat embossed and cut with a heart die. The background is an embossing folder from Sizzix that I swiped with ink, then, a few Nuvo drops were added for some extra fun.

Thanks for visiting. I am adding this to the House Mouse & Friends Challenge.

Edited to add that I was the winner for this card:

Monday, August 6, 2018

House Mouse Climbing Iris and Hummingbird in Watercolor

This week the option is to add stitching, real or faux, to your entry over at House-Mouse & Friends Monday Challenge.  I selected the Climbing Iris stamp and colored it with Windsor & Newton watercolors on Master's Touch Watercolor paper.  I created an easel card. Using Gina K paper for the card base.
The background was created with alcohol inks. I added a couple of pieces of Washi tape. The sentiment from Wild Rose Studio was embossed with white,  popped for dimension, and a few large white pearls added from my stash.

Also sharing with The Daily Marker 30 Day Coloring Contest.  

Thanks for your visit. I do enjoy reading your comments!

Saturday, June 17, 2017

Stampendous Butterfly with Chameleon Pencils

I just got my new Chameleon Color Tones Pencils. I LOVE them. The colors are so nice and creamy and blend together beautifully. I grabbed the large butterfly from Stampendous and heat embossed it with Ranger silver embossing powder and then colored.
I popped it up over a piece of embossed and blended with Oxide Inks paper, added some Paper Smooches Silhouette flowers (double die cut to make shadows, a ribbon, and some fancy gems. Finally, I added a layer of Wink of Stella for a bit of sparkle.

Thanks for stopping by. I always enjoy reading your comments and appreciate the time you take to do so.

Shared with:
Crafty Catz
Crafting With Friends
Penny's Paper-Crafty Challenge
Create and Inspire Challenge

Thursday, March 12, 2015

Three Little House Mouse Mice

Three of something. That is this week's optional twist on The Outlawz Twisted Thursday. Who could resist three cute little mice from Stampendous? Head on over to see more projects with three and enter one yourself for a chance to win a nifty prize!
Easel Card
Side View
Ready for Mailing
These were all colored with Copic markers during a class I took with Jenn Dove.

Also shared with:
Gruffies & Guests
House-Mouse & Friends
Party Time Tuesdays
Scribble and Scrap

Monday, March 9, 2015

Spectrum Noir Coloring Tutorial of Daisy Thanks

Today's tutorial will guide you through coloring this pretty little flower set from Stampendous, called Daisy Thanks, using Spectrum Noir markers.

Flowers are quite forgiving, so they are wonderful for beginners as well as advanced colorists. Look at some in your garden or pull up some images from the Internet and you will see that the colors vary greatly in just one variety. So, we will not worry about perfection. Just enjoy the simple joy of coloring.

First, select a flower stamp, or draw a simple flower of your own. Stamp or draw it on good marker paper. I used Neenah cardstock.
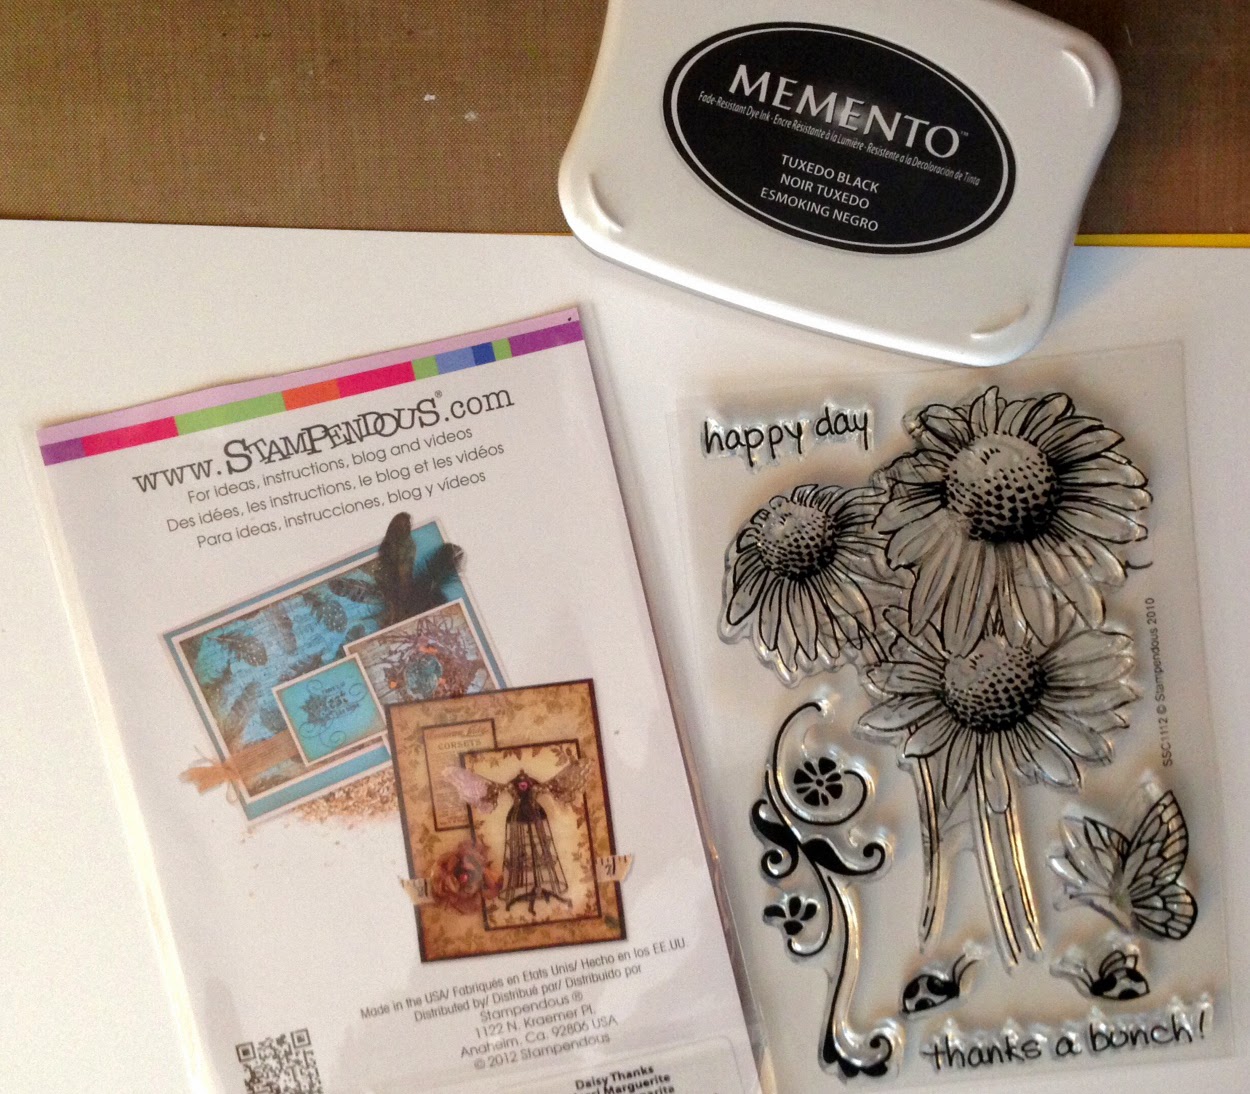
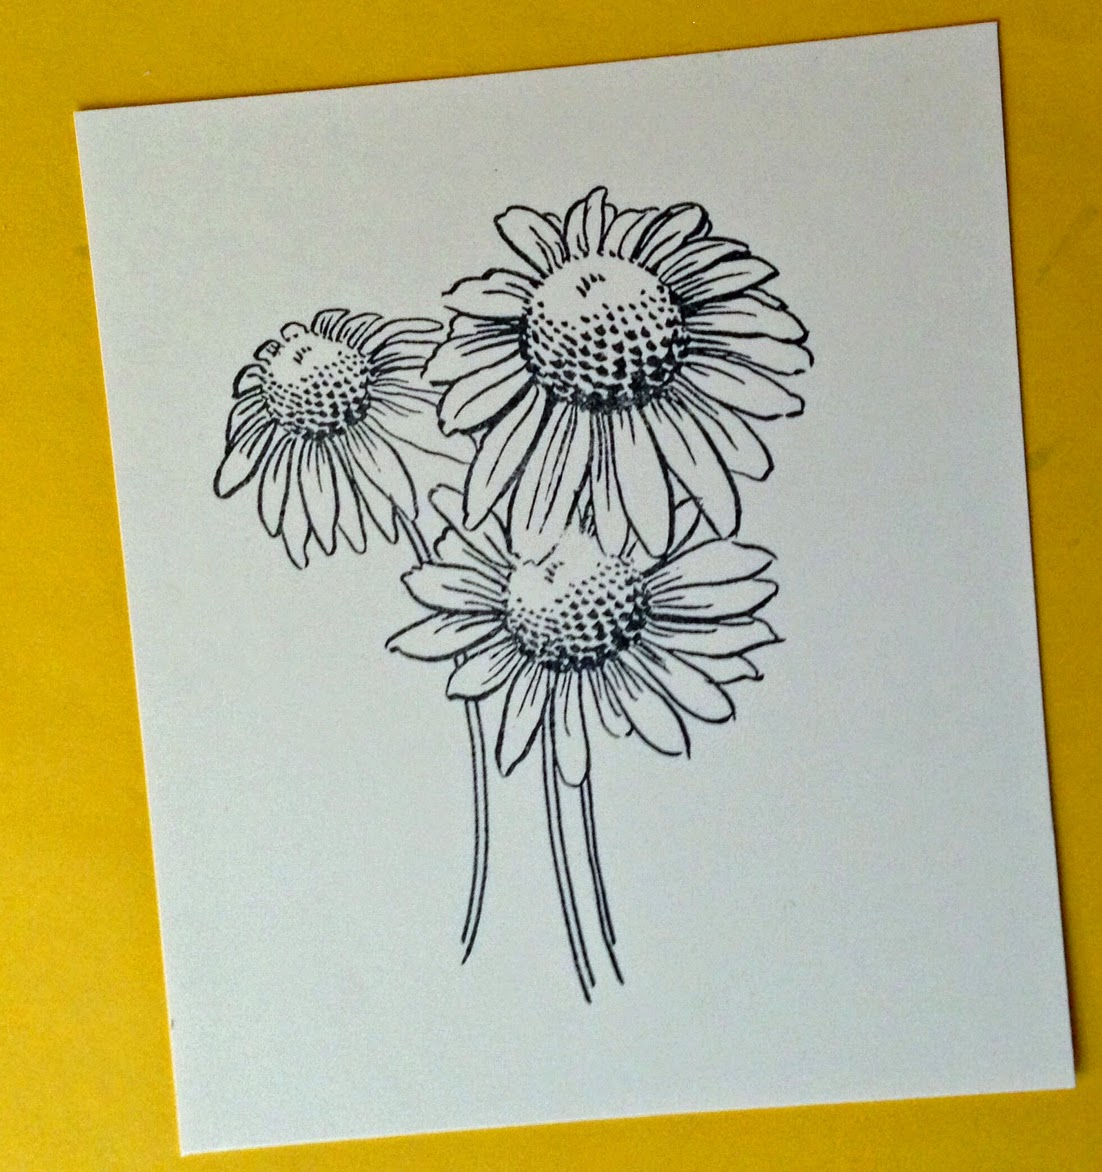


Always place a piece of plain paper under your work as it helps keep the marker from spreading out beyond the line. (Sometimes LOL!)

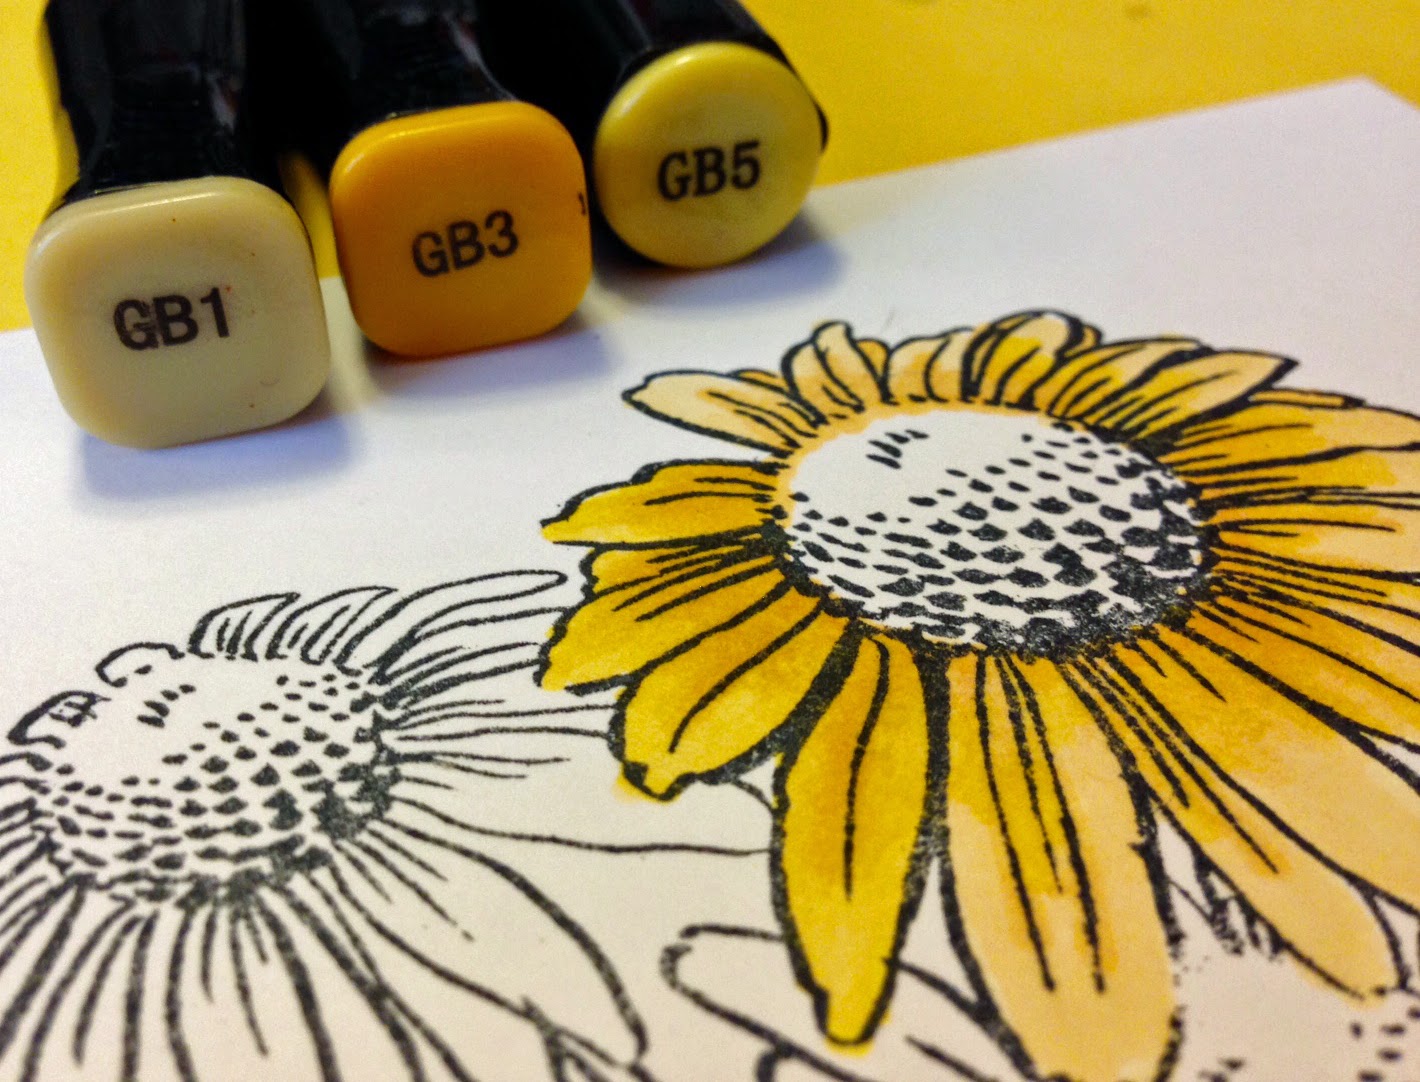
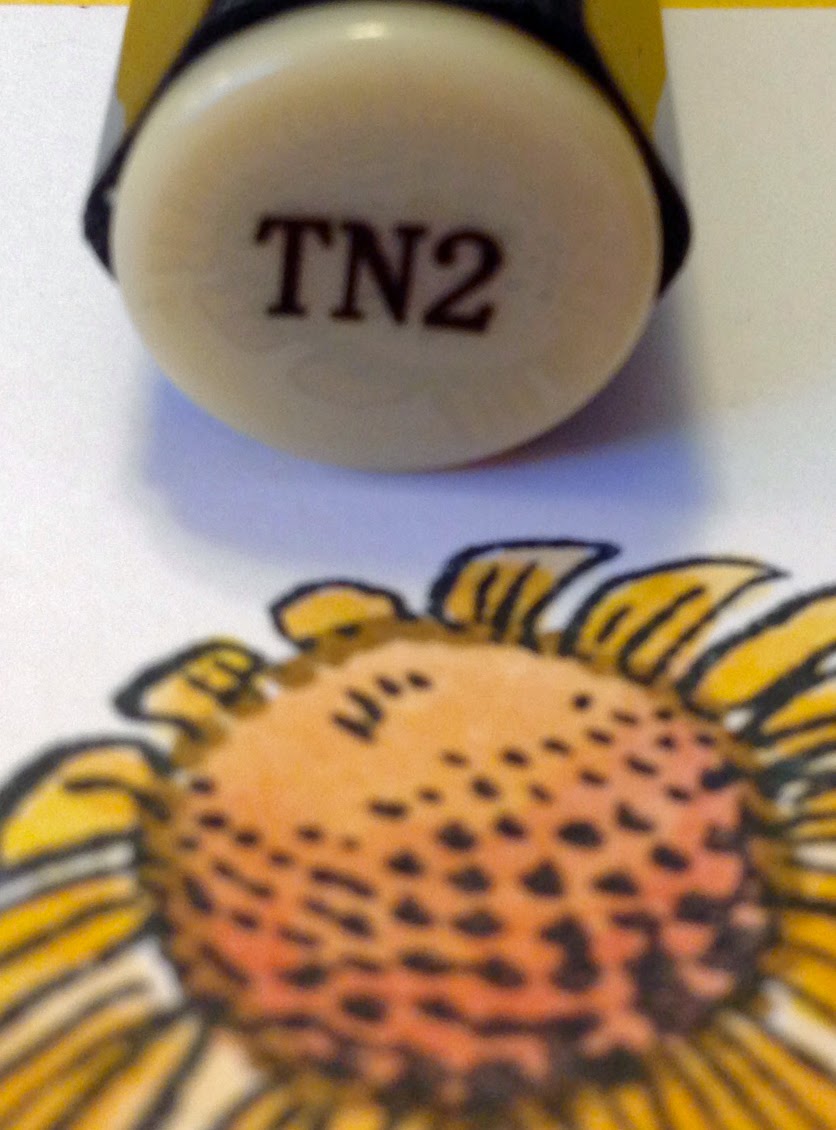
Colors Used


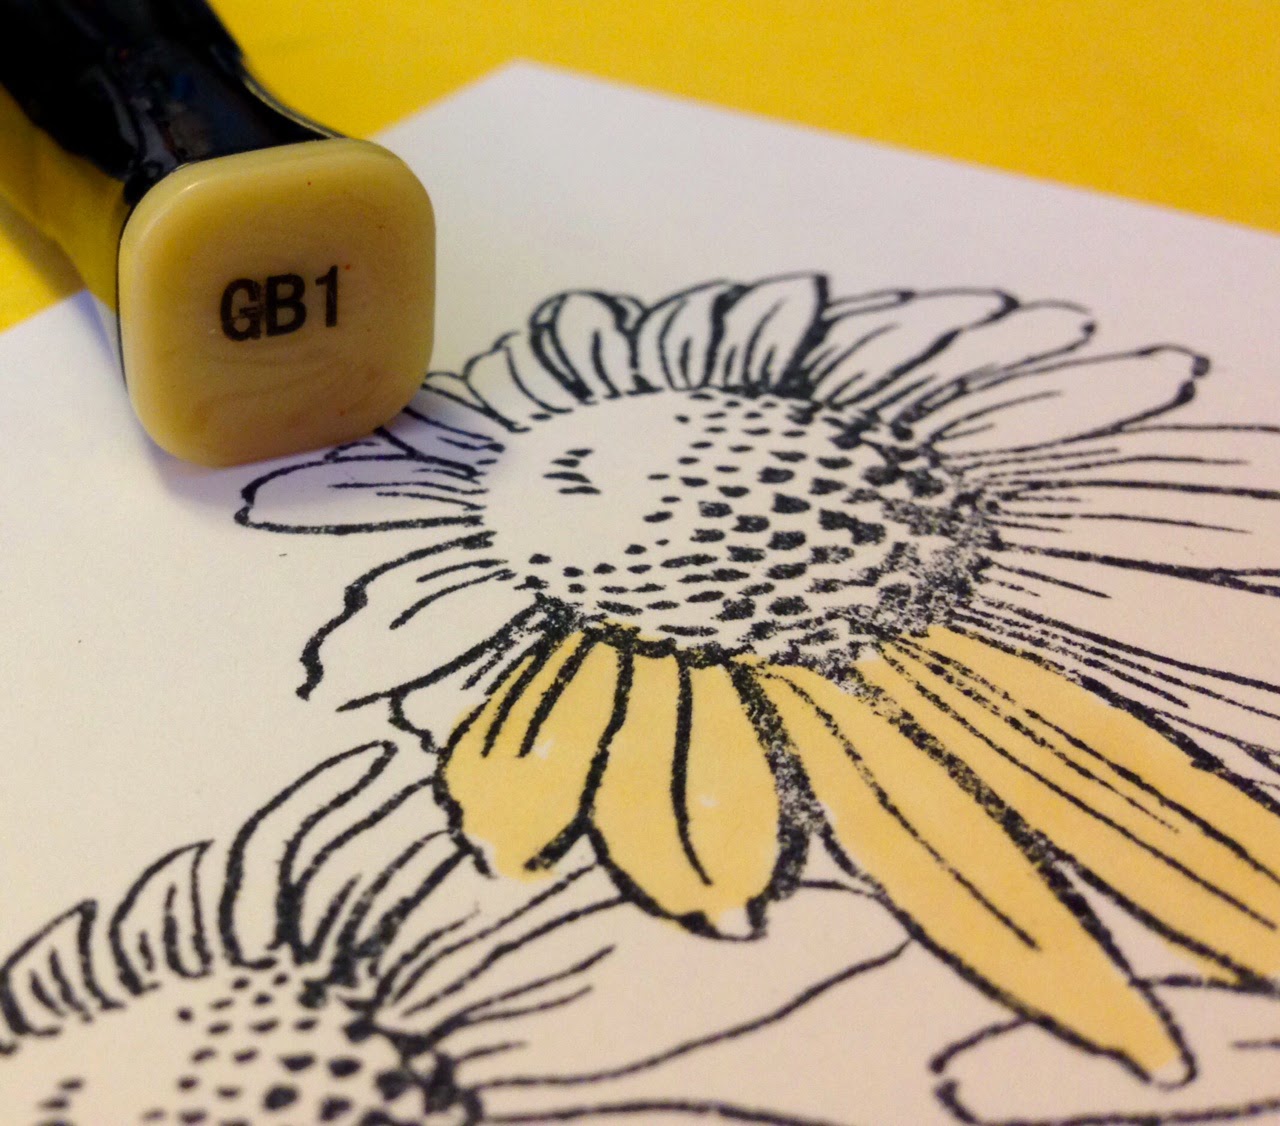
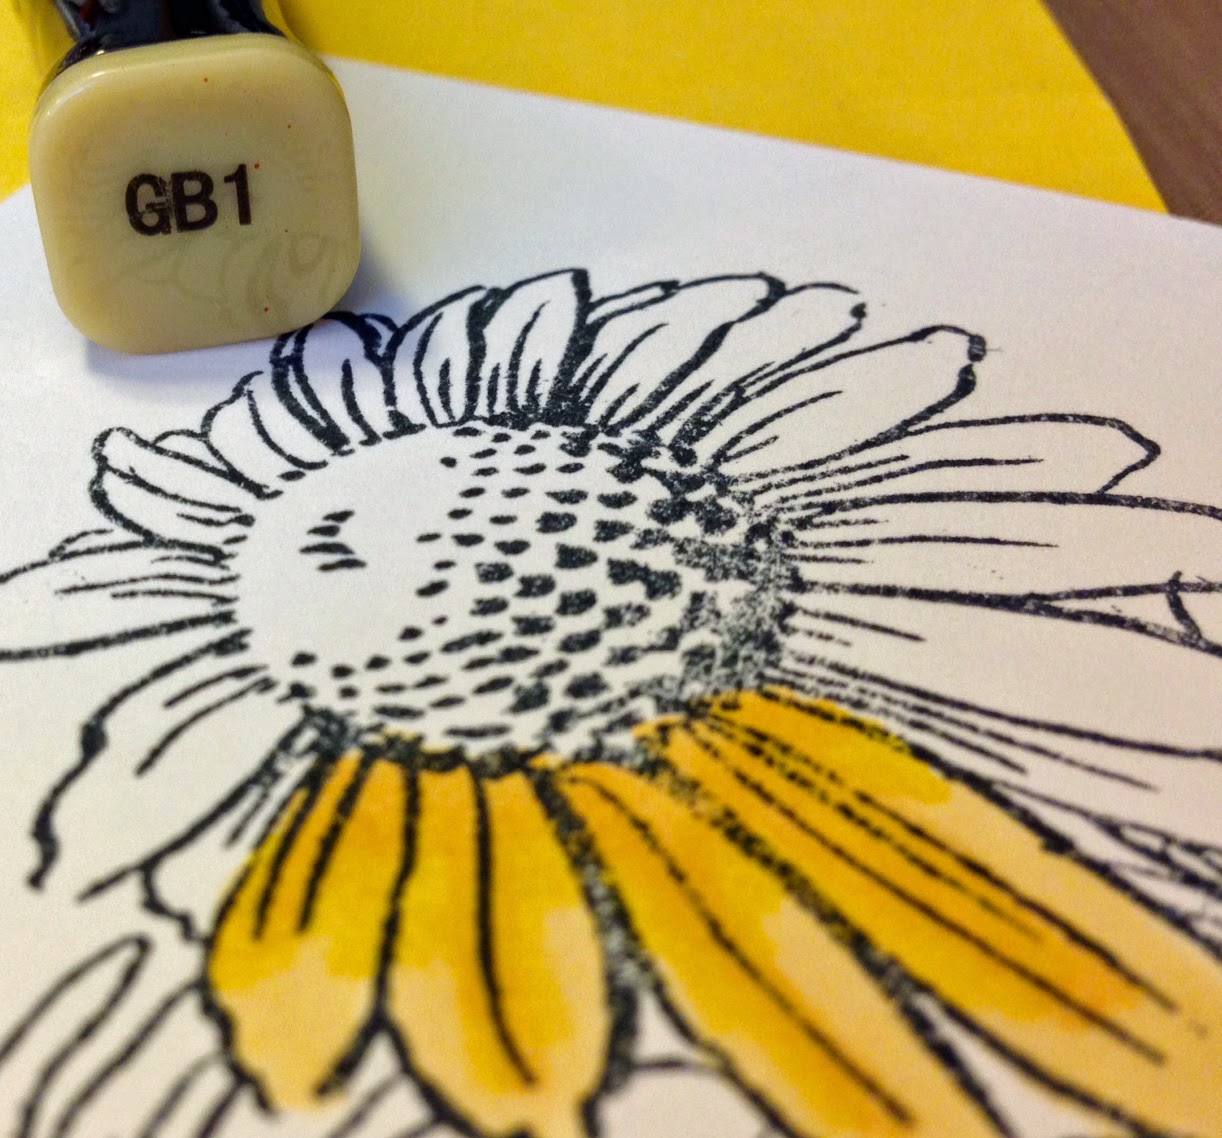
Choose your light source so that you can decide where your light and dark colors should be. Begin filling a small area with your lightest color. Be sure to saturate the area. You need the area wet as markers blend better when they are really wet. That's why we don't color too large an area at a time.


Next, add your darkest marker to the shaded areas of your flower. Apply with outward flicking motion.


Continue to move outward to the lightest areas of the flower with your mid-tone marker. Then back to the lightest. I like to go light, dark, medium then light. If you are not completely satisfied with the look, repeat from dark to light until you are. You can continue to add layers and make adjustments as you like.


I used only two colors for the stem since you really don't see much of it. First, put down the lightest and then add some darker in the shadows and add the light again to blend.
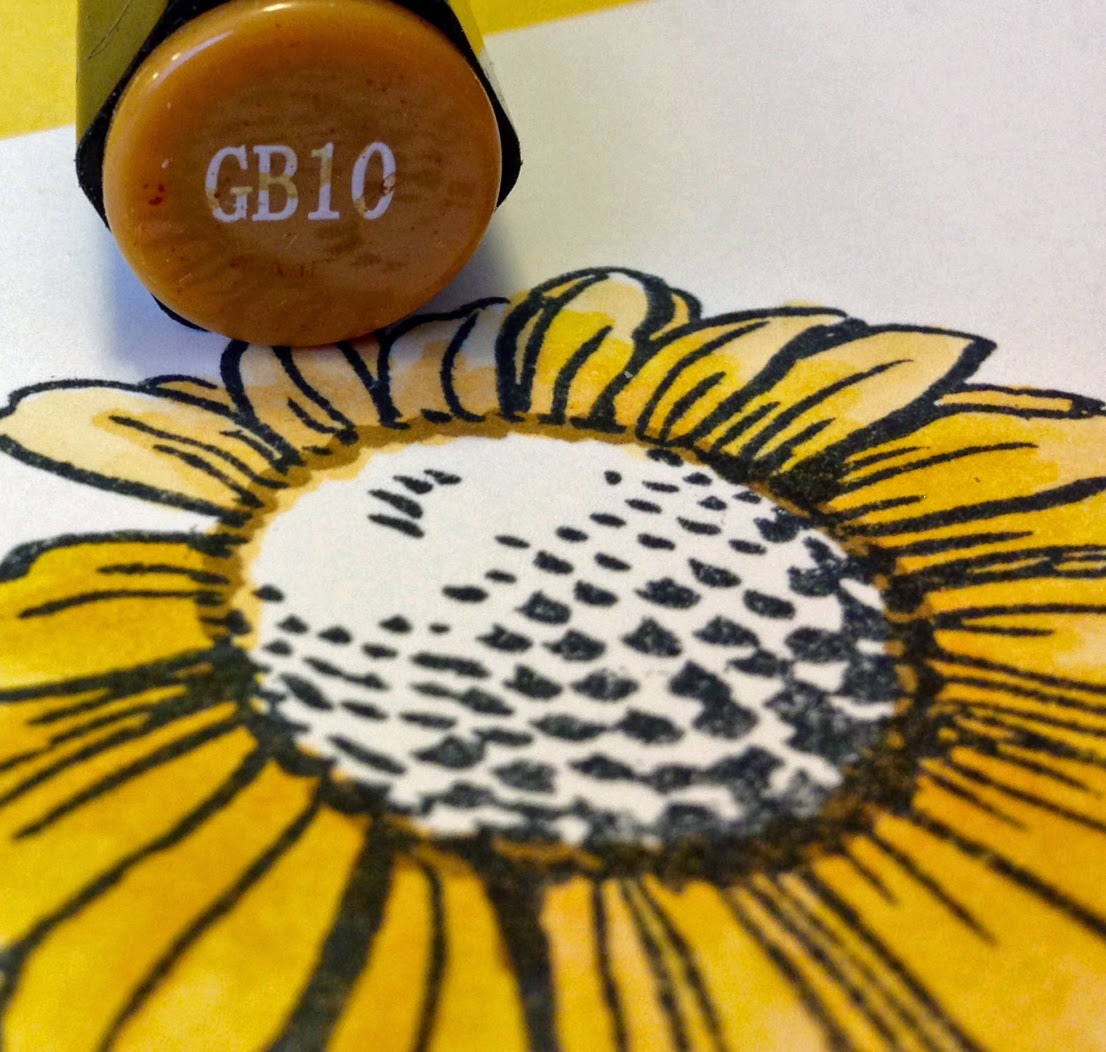


I just tapped the edges of the center of the flower with a dark color before beginning to fill in the center.


Again, lightest all over center, add darkest to the outer bottom edge and begin blending with the mid-tone and finally back to the lightest. Repeat until you are pleased.
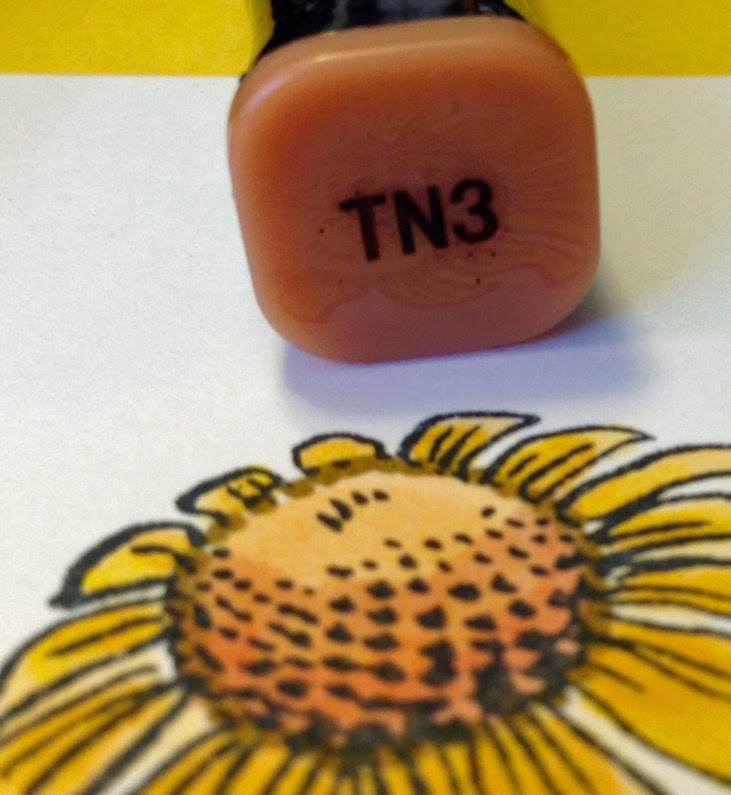


When blending, make a light pass over the previous color and then continue blending away from the darker color into a lighter area.


When you are finished. Take out your blender and hold it gently over any marker marks that have escaped the lines to remove them. Wipe the color off on a clean piece of paper. Wait for it to dry and repeat until the "mistake" is either gone or too light to notice.

If you have too much marker that went over the lines, you can always "fussy" cut out your image and then adhere it to your project.

I used gray to add a base to the flowers and to add shading to the right hand side.  The finished piece was mounted to brown cardstock and layered with more papers, ribbon, and burlap flowers with colored dots attached. the sentiment came from the same kit. You could use an image like this to make a card, but it also would be fun to add to an art journal or larger as a piece of art to hang on your wall.

I hope you enjoyed this tutorial. Let me know if you have any questions about the process. I love reading comments, so say hello!


Saturday, February 7, 2015

Bon Bon Bunny Valentine

Valentine's Day is right around the corner so I pulled out my new Happy Hoppers, Bon Bon Bunny from Stampendous and used my Copics (sorry, put them away before I noted the colors that I used)  to make this pop-up card.
Hearts are popped up on the inside.
View from the top.
Used the blending solution and fabric to add texture to the bunny.
Used the blender and fabric to add texture to the bunny.
Shared with:
Gruffies & Guests
House Mouse & Friends
Through the Craft Room Door
Artistic Inspirations
Party Time Tuesdays
Crafting From the Heart
613 Avenue Create

Thursday, October 23, 2014

Saturday, September 27, 2014

House Mouse Christmas and an ATC

I had made a pile of die cut leaves and thought this might be a good place to add a couple. This stamp is from Stampendous and it features a House Mouse and is called Berrying Gifts.
Colors Used


Entered:
Friday Coloring Challenge, Outlawz
Wags 'n Wiskers Stamps


Colors Used

This little ATC (Artist Trading Card) is stamped with Peggy from Whimsy Stamps. I may eventually add her to a card.
Entered:
Little Miss Muffet Challenge, Make it a Mini

Wednesday, September 24, 2014

Fall Float House Mouse

This morning, I was playing with my Copics. I scribbled on my craft sheet, using this tutorial from Split Coast Stampers, and some photo sheets that I get every time I buy new printer ink. I never print out photos, so I have lots. On the one I chose to use (the one on the right), I stamped some flowers with black Momento Ink before I cut it to size for my card.
Then, I grabbed one of my House Mouse stamps for fall, called Fall Float and went from there.
Copic Colors Used
I had a silk leaf that I added as well.

I used the layout from Mojo Monday. I really didn't have room for a second sentiment though as my mouse is kind of tiny :)

I also entered this in:
House Mouse Challenge
Crafting From the Heart
Crafty Girls Challenges

Thursday, September 18, 2014

Christmas Gifts from a House Mouse

I had so much fun making this card using one of my House Mouse stamps from Stupendous. I used my spray gun to do the green on the raised flower that is holding a package, and on the circle so they would match. I also fussy cut the mouse and added some embossed "snow". I did some paper piecing with the packages adding one more to the grouping. The top of the mouse and the flower and the gift are each raised with foam squares.
Copic Colors used

Mojo Monday #363

Entering:
Mojo Monday
House-Mouse & Friends
Crafty Girls Challenge


Sunday, September 7, 2014

Trick or Tweet from Stupendous House Mouse and a Halloween Cat for the Outlawz

Well, it's that time of the year. I have a couple of relatives that just live for Halloween so I thought I would do this adorable stamp from House Mouse/Stupendous. This was a bit of a challenge to color with Copic because some of the little critters were soooo small. But, by holding my breath, I got it done! This card, because of the colors, allowed me to use some of the papers I had made a while back. Too bad I can't remember how I did them LOL! I also used a few of my own melted beads for dots. The card base is a craft brown even though it looks kind of green here. And, I finally found some of those little wooden easels to use to hold my card upright for photos.


Copic Colors Used


This card is for the Outlawz CAS (Clean and Simple), color our world, and I used most of the same colors. I didn't use all of them but didn't introduce any new ones for this Hampton Arts Halloween Cat and spooky spider. I had the paper so I simply covered the whole front of a card with that and I cut out an extra cat so it could go over the spider paper.
Orange and Green for Halloween

Tuesday, September 2, 2014

House Mouse Knitters Card

My friend is having a birthday in a few days. We met because we are both knitters. I couldn't pass up this House Mouse stamp from Stupendous to make a card that would be special. I embossed the button band.

Copic Colors Used
The layout was from Mojo Monday.