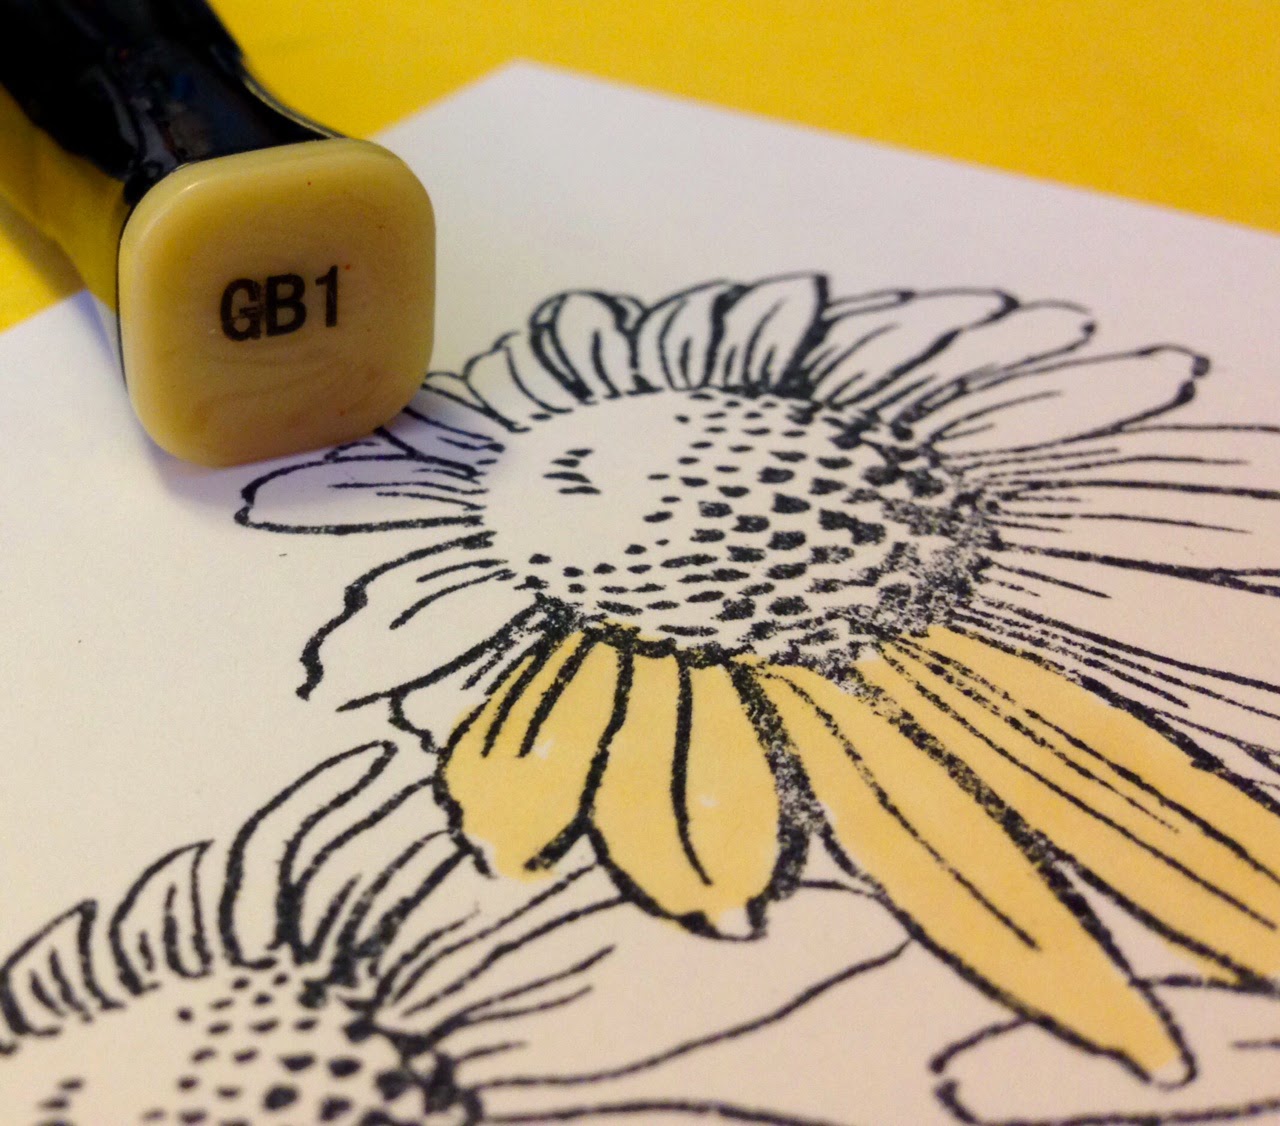
Showing posts with label Spectrum Noir. Show all posts

Monday, September 18, 2017

Cozy Fall Coffee Time

The Fall Coffee Lovers Blog Hop run by Amy Tsuruta continues. I decided to combine some tangling from the Zentangle® method with the challenge.
If you would like to read more about this, you can find the original tangled image over at my Zentangle blog. I will link it here as soon as I have done so since I am posting them at the same time.

Fall means a cozy time in the evening, after finishing all the required duties of the day, that a hot cup of coffee is the BEST!

I used the Tea Time die cut from Sizzix, Prismacolor colored pencils, Clear Stamps from Stampabilities, Spectrum Noir Clear Sparkle, and the center dots are Nuvo Crystal Drops. Fall leaves were die cut from felt. The coffee cup handles and sentiment are popped with foam for some dimension.


Thanks for stopping by. If you have time, leave me a comment. I love comments!

Thursday, April 20, 2017

Scalloped Trifold Card

The optional twist this week for Twisted Thursday over at The Outlawz is Look alike/Two of a kind! Our sponsor, Limited Run, has these wonderful mushrooms called Mushroom 10. I used more than two of these fun images to make this trifold card.
Closed
Partially Open
Right Side


Spectrum Noir Sparkle pens were used for coloring. Nuvo Crystal Drops in white added some texture to the mushrooms. Spellbinders Curved Borders Two added some interest to the tops. Some Hero Arts White Pigment Ink was sponged at the top of the Kraft paper card. And a bit of burlap ribbon, enamel dots, and a white bow finished off the card.
Sentiment
Limited Run Stamps


Thanks so much for stopping by. I so love reading your comments!

Thursday, July 23, 2015

Let it Pour!

Let's have a "water theme" this week for the optional twist for Twisted Thursday over at The Outlawz. I love this little kitty, from Sami Stamps, using a flower for a hat. I thought it made for a nice rain bonnet! Stamps for rain and clouds are from Penny Black.
Spectrum Noir Colors Used

Thursday, May 14, 2015

Flowers with April from Penny Black

This week over at The Outlawz' Twisted Thursday, the optional twist is flowers. I chose to do a stair-step card with flowers using the adorable "April" stamp from Penny Black.
Spectrum Noir Markers

Thursday, April 30, 2015

Shaker Card

"Anything Goes" over at Twisted Thursday, The Outlawz. Always a favorite. I am loving using our sponsor, Bestie Designs', images. This time, I used Image #064,
and made a shaker card.
Spectrum Noir Colors Used

Sunday, April 19, 2015

Spring with Crackerbox Palace

I am honored to be a guest designer for Quirky Crafts. Please join us in the challenge to use some pretty spring colors as shown, or lots of flowers. I have selected to use the suggested colors, with a few flowers as well on my card featuring digital art from Crackerbox Palace. I created a swing card so am showing the card closed and open. The card was cut with a Square Flip-Its die from Sizzix.
Closed
Opened
Spectrum Noir Colors Used
Suggested Color Palate
Shared with:
Chocolate, Coffee & Cards
Through The Craft Room Door
The Diva's that Cut
Creative Fingers Challenge

Monday, March 9, 2015

Spectrum Noir Coloring Tutorial of Daisy Thanks

Today's tutorial will guide you through coloring this pretty little flower set from Stampendous, called Daisy Thanks, using Spectrum Noir markers.

Flowers are quite forgiving, so they are wonderful for beginners as well as advanced colorists. Look at some in your garden or pull up some images from the Internet and you will see that the colors vary greatly in just one variety. So, we will not worry about perfection. Just enjoy the simple joy of coloring.

First, select a flower stamp, or draw a simple flower of your own. Stamp or draw it on good marker paper. I used Neenah cardstock.
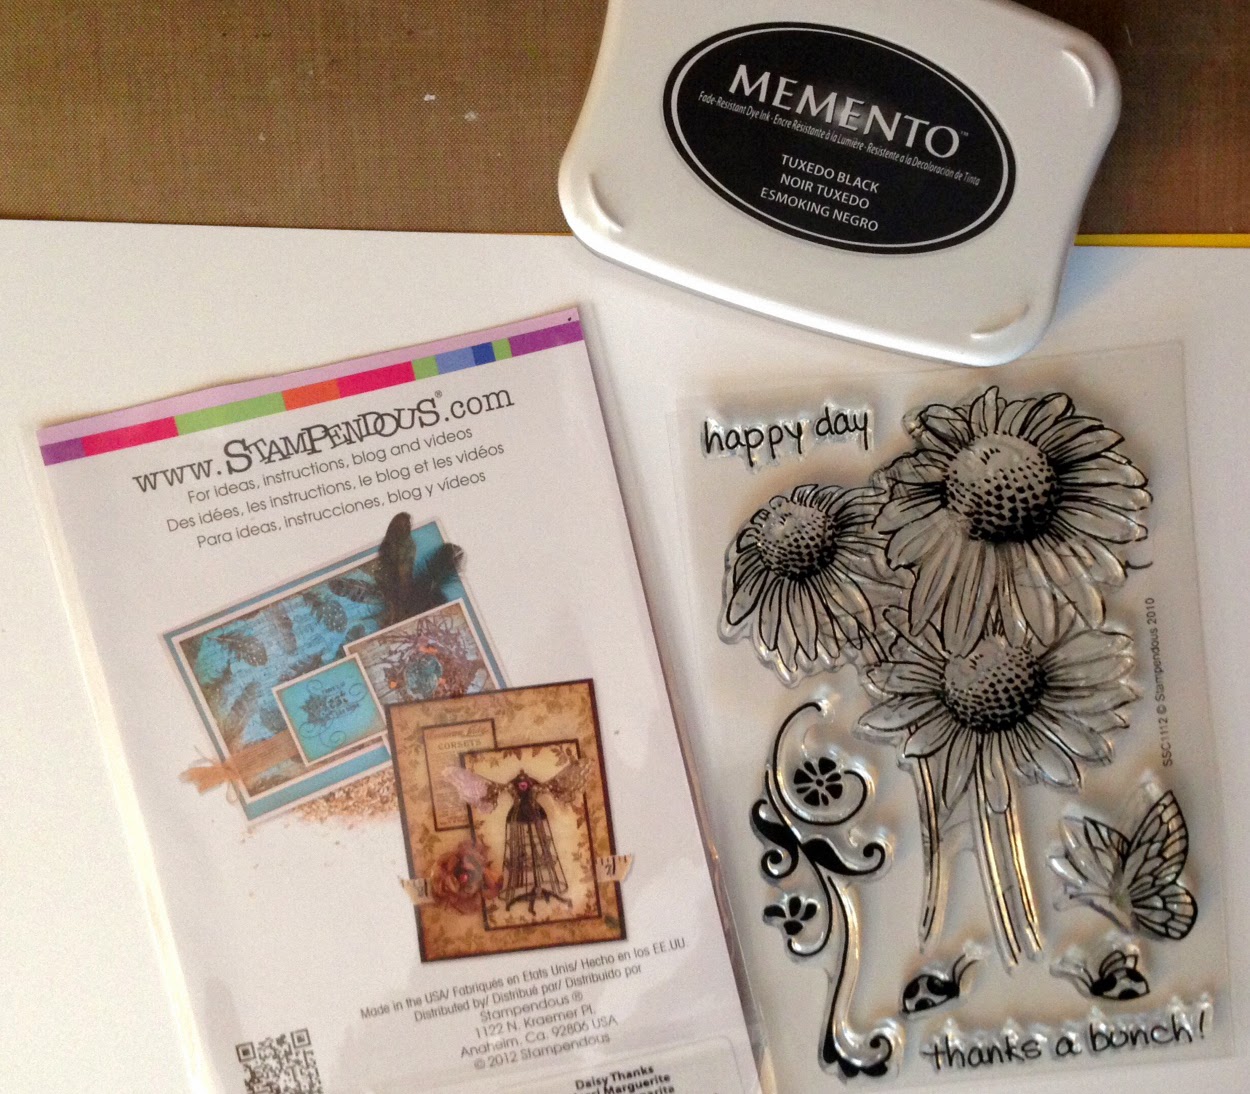
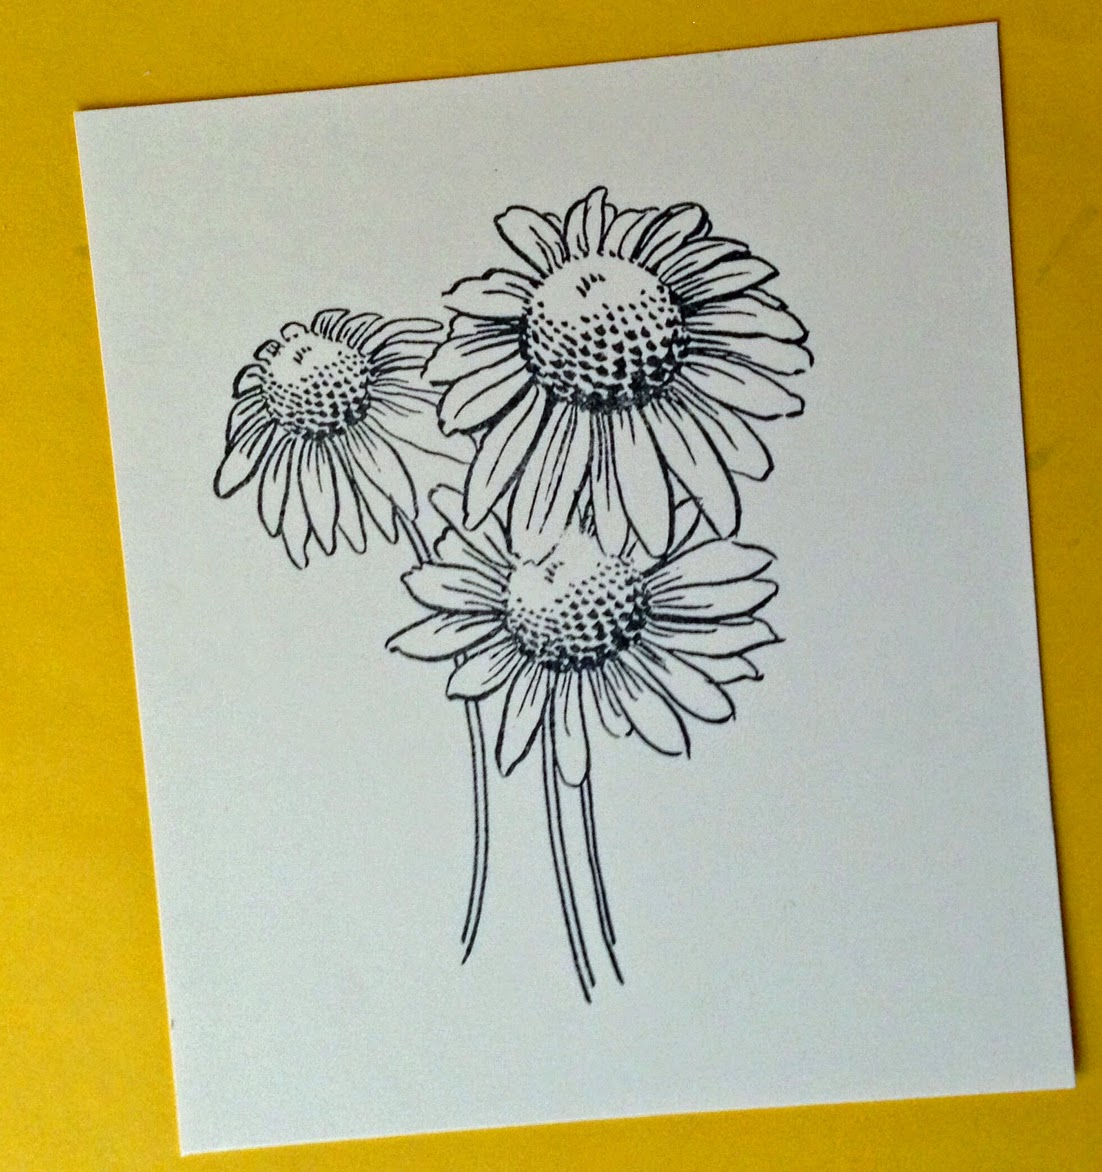


Always place a piece of plain paper under your work as it helps keep the marker from spreading out beyond the line. (Sometimes LOL!)

Colors Used


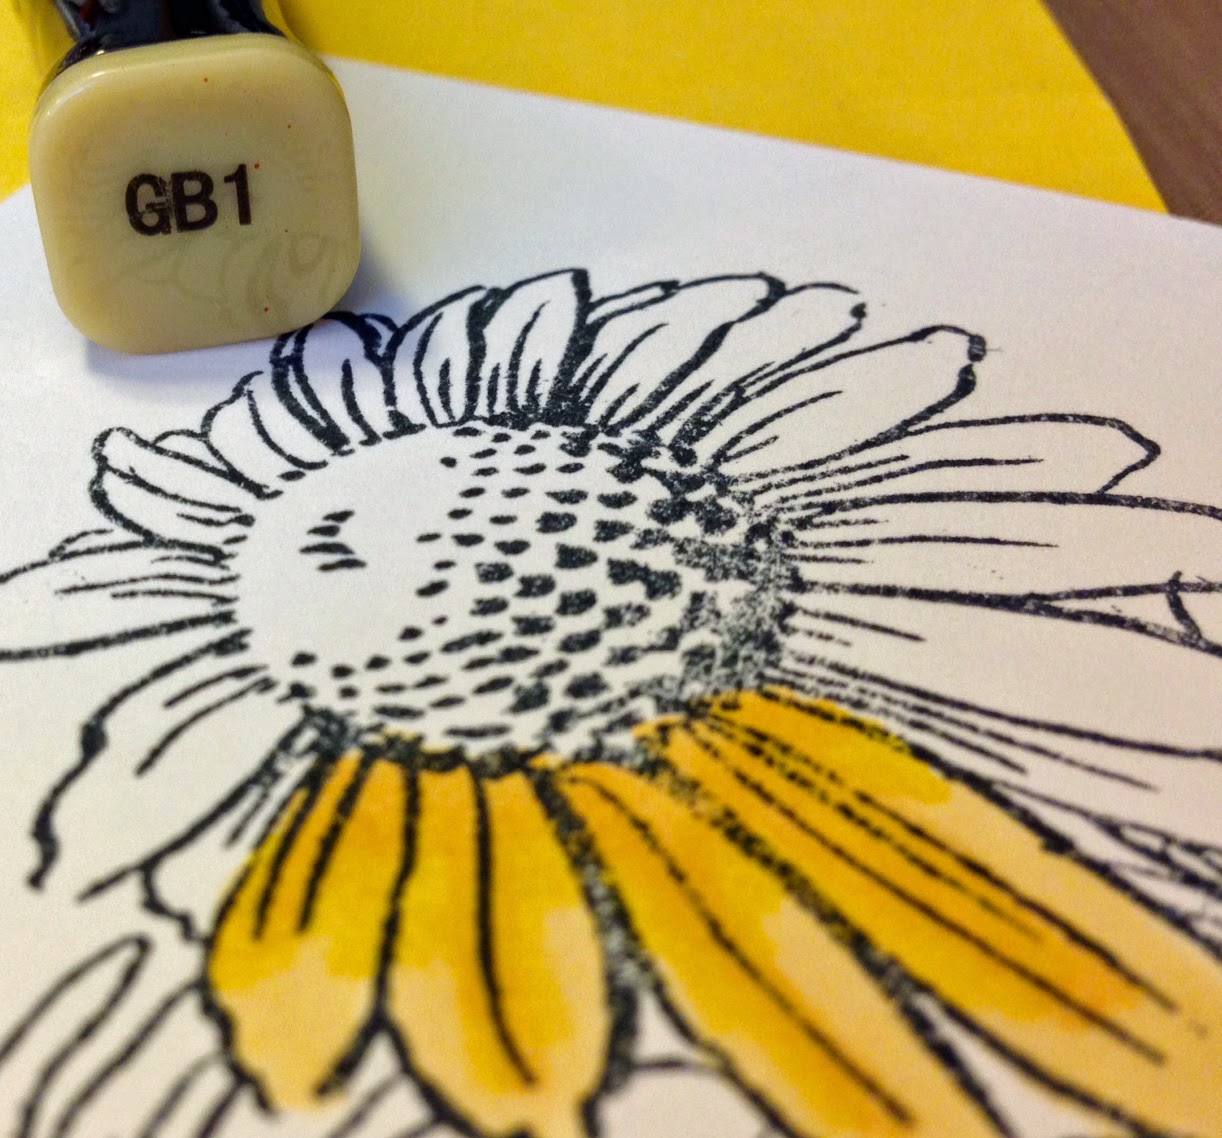
Choose your light source so that you can decide where your light and dark colors should be. Begin filling a small area with your lightest color. Be sure to saturate the area. You need the area wet as markers blend better when they are really wet. That's why we don't color too large an area at a time.


Next, add your darkest marker to the shaded areas of your flower. Apply with outward flicking motion.


Continue to move outward to the lightest areas of the flower with your mid-tone marker. Then back to the lightest. I like to go light, dark, medium then light. If you are not completely satisfied with the look, repeat from dark to light until you are. You can continue to add layers and make adjustments as you like.


I used only two colors for the stem since you really don't see much of it. First, put down the lightest and then add some darker in the shadows and add the light again to blend.


I just tapped the edges of the center of the flower with a dark color before beginning to fill in the center.


Again, lightest all over center, add darkest to the outer bottom edge and begin blending with the mid-tone and finally back to the lightest. Repeat until you are pleased.


When blending, make a light pass over the previous color and then continue blending away from the darker color into a lighter area.


When you are finished. Take out your blender and hold it gently over any marker marks that have escaped the lines to remove them. Wipe the color off on a clean piece of paper. Wait for it to dry and repeat until the "mistake" is either gone or too light to notice.

If you have too much marker that went over the lines, you can always "fussy" cut out your image and then adhere it to your project.

I used gray to add a base to the flowers and to add shading to the right hand side.  The finished piece was mounted to brown cardstock and layered with more papers, ribbon, and burlap flowers with colored dots attached. the sentiment came from the same kit. You could use an image like this to make a card, but it also would be fun to add to an art journal or larger as a piece of art to hang on your wall.

I hope you enjoyed this tutorial. Let me know if you have any questions about the process. I love reading comments, so say hello!


Saturday, February 21, 2015

Spectrum Noir Challenge, Using Red

I am very pleased to have become accredited as a Spectrum Noir colorist and decided to enter a little challenge with them using the color red. I LOVE red, so this was a fun one for me to do. The image is from Tiddly Inks and I added her to a card that has some hand punched edging, a wooden heart that was embossed with a glittery black as was the hearts and arrow stamp, a bit of ribbon and a few dots and a tiny bit of white gel highlighting completed this card. Spectrum Noirs are fun to color with and have a nice nib for getting into small areas. They are also kind to your pocketbook!

You can enter their Challenge too: Spectrum Noir Monthly Challenge, Use Red
Spectrum Noir Colors Used
Also shared with:
Through the Craft Room Door
Crafting From the Heart
613 Avenue Create
Party Time Tuesdays

Thursday, February 19, 2015

The Big One - Stitchy Bear

The "twist" this week, over at The Outlaws Twisted Thursday, is to use an easel card. I just completed my testing with Spectrum Noir and now am an accredited colorest for them. So, that's what I used to color this fun image, The Big One, from our sponsor, Stitchy Bear.
I die cut the circles. Tag from Sizzix with sentiment is from Stampendous. The grass is a die cut from Lawn Faun, added dots and a brad. Distress inks for edges.
Spectrum Noir Colors Used
Shared with:
The Diva's that Cut
613 Avenue Create
Party Time Tuesdays
Through the Craft Room Door
Crafting From the Heart

Thursday, January 22, 2015

Lovely as a Tree

Lovely as a tree. That's this week's twist over at The Outlawz Twisted Thursday group. Do drop by and see all the wonderful pieces and become a member yourself!

This cutie came from our sponsor, Bugaboo Stamps, and is Ava Swing.  I used a tree embossing folder to create the background which I colored and layered on the stripped paper and then on the pink cardstock. I love the little bow (I just learned how to make them.) and the tiny heart brads to hold up the swing ropes. Then I fussy cut Ave and put her on foam tape to give dimension.  I added two little red dots to bring out the color of the bow in her hair.
Spectrum Noir Colors Used
Also shared with:
Scribble and Scrap
613 Aveue Create Challenge
Party Time Tuesdays
The Diva's That Cut (Embossing folder)
Through the Craftroom Door

Thursday, January 15, 2015

Stella Birthday from Bugaboo

Suprise!!!! This week, I used my Spectrum Noirs instead of my Copics to color this fun image from our sponsor this month, Bugaboo Digi Stamps. I am just one of those people who like (read NEED) to do something different all the time. I think that's why I have gotten into art journaling too as I can play with so many different techniques and be messy. I love to get messy, and cards just don't look quite right when they're messy. (Want to see some messes? Check out my art journaling blog.)

The "twist" over at The Outlawz Twisted Thursday, was to add brads or eyelets. I do love to see those and I have them, but for some reason, I've never added eyelets. I love challenges for pushing us to remember to use our supplies. (Of which I have many. Maybe too many? How about you?)

Stella birthday - 29 again
Spectrum Noirs Used
Thanks for stopping by. I love comments and happily read and respond to each one. Happy coloring :)

Shared with:
Scribble and Scrap
Through the Craft Room Door
My Creative Moments
Party Time Tuesdays

Sunday, January 11, 2015

All Dressed Up Little Christmas Girl

This adorable image is from All Dressed Up and was free if you participate in the Progressive Freebie Challenge for January over at The Outlawz.  It's not too late to join and get future images provided for free as long as you participate each month. Details on the site.
Add caption
The tree is stamped from DRS Designs and I cut the paper with Lawn Fawn stitched borders. I added some sparkly ribbon and a couple of buttons that I snipped the backs off to glue down.
Spectrum Noir Markers Used
Also shared with:
Christmas Cards All Year 'Round
Christmas Card Challenges
The Diva's That Cut