Flowers are quite forgiving, so they are wonderful for beginners as well as advanced colorists. Look at some in your garden or pull up some images from the Internet and you will see that the colors vary greatly in just one variety. So, we will not worry about perfection. Just enjoy the simple joy of coloring.

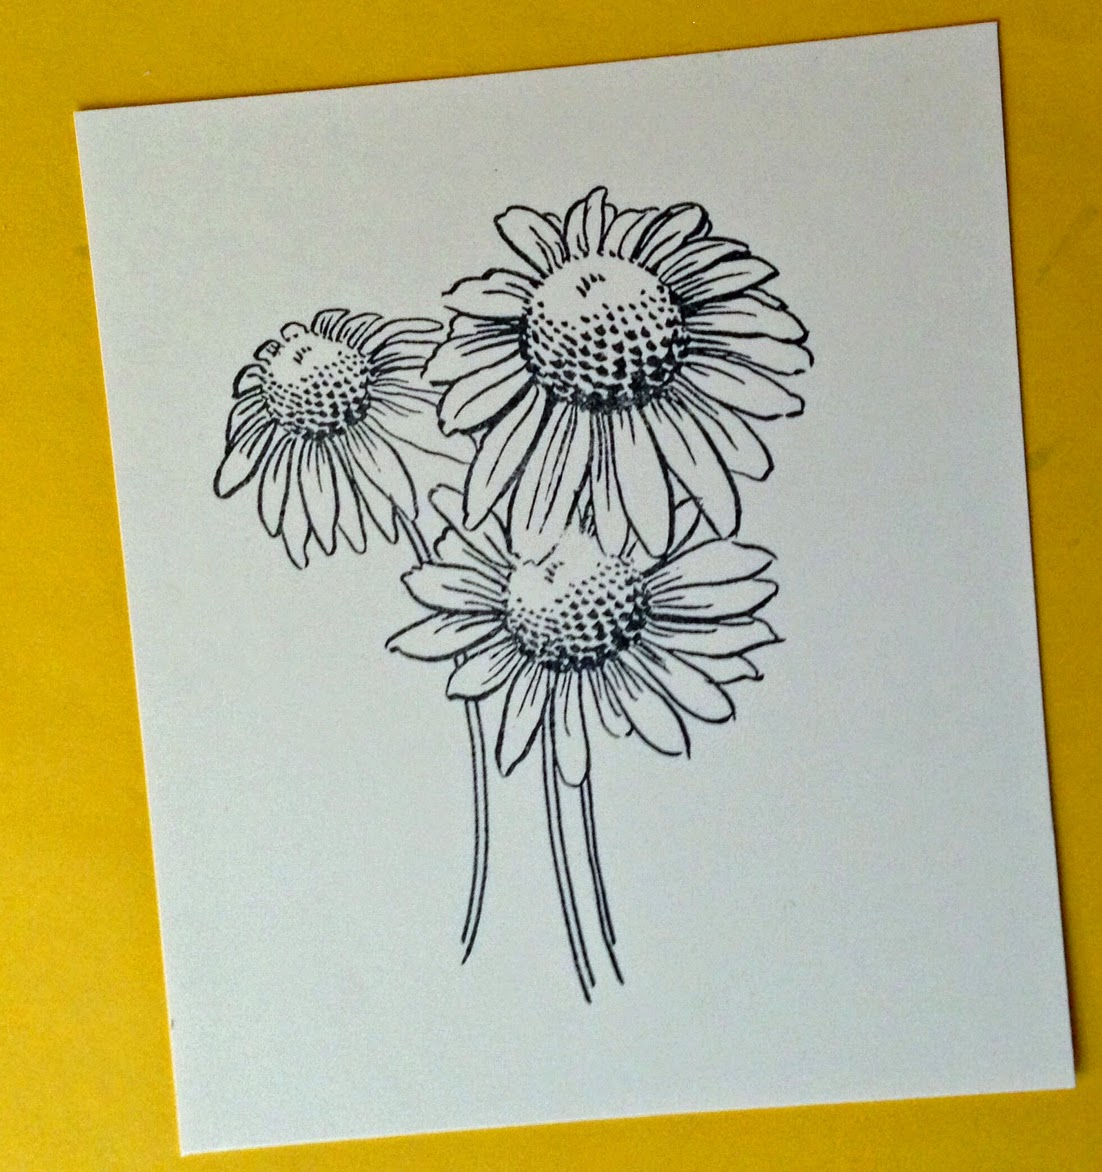
First, select a flower stamp, or draw a simple flower of your own. Stamp or draw it on good marker paper. I used Neenah cardstock.

Always place a piece of plain paper under your work as it helps keep the marker from spreading out beyond the line. (Sometimes LOL!)
 |
| Colors Used |

Choose your light source so that you can decide where your light and dark colors should be. Begin filling a small area with your lightest color. Be sure to saturate the area. You need the area wet as markers blend better when they are really wet. That's why we don't color too large an area at a time.


I used only two colors for the stem since you really don't see much of it. First, put down the lightest and then add some darker in the shadows and add the light again to blend.


I just tapped the edges of the center of the flower with a dark color before beginning to fill in the center.

Again, lightest all over center, add darkest to the outer bottom edge and begin blending with the mid-tone and finally back to the lightest. Repeat until you are pleased.


When blending, make a light pass over the previous color and then continue blending away from the darker color into a lighter area.

When you are finished. Take out your blender and hold it gently over any marker marks that have escaped the lines to remove them. Wipe the color off on a clean piece of paper. Wait for it to dry and repeat until the "mistake" is either gone or too light to notice.
If you have too much marker that went over the lines, you can always "fussy" cut out your image and then adhere it to your project.
I used gray to add a base to the flowers and to add shading to the right hand side. The finished piece was mounted to brown cardstock and layered with more papers, ribbon, and burlap flowers with colored dots attached. the sentiment came from the same kit. You could use an image like this to make a card, but it also would be fun to add to an art journal or larger as a piece of art to hang on your wall.
I hope you enjoyed this tutorial. Let me know if you have any questions about the process. I love reading comments, so say hello!
Jean this is fabulous. Wonderful detail and beautifully set out. Thank you so much for sharing your tutorial with us at the Spectrum Noir Connoiseurs Facebook Group. I am really grateful.
ReplyDeleteYou're welcome, Laine. It was interesting to see how many steps it actually takes, and to remember to take a picture each time! Thanks for your confidence in me :)
DeleteWow...THank you Jean for such fabulous details on how to make it work I sincerely appreciate you. Lovely card. Big Texas Hugs, AntoinetteT
ReplyDeleteAntoinette, I really appreciate your feedback. This is my first tutorial and I am so pleased with the responses.
DeleteJean I really liked how easy the tutorial was and I really appreciate that. I was a very lovely card Thank You Vicki
ReplyDeleteI'm so glad you found the tutorial helpful. I just may do more in the future.
DeleteJean, Wonderful job, Love the burlap flowers.
ReplyDeleteHugs, Pat/♥
Thanks, Pat. Laine asked me to do it and I felt like, since she was a fellow Outlaw, I should help out!
DeleteJean, this is fabulous! What a great job you did on conveying the steps to color this image! I LOVE those burlap flowers! I must remember that! ;)
ReplyDeleteThis tutorial was done by request. It took forever to get blogspot to get the photos to where I wanted them. Maybe a real website is easier to work? Thanks, Janet, I found the burlap flowers on a sheet at Michael's.
DeleteYou are very welcome, Masolo. I hope it was helpful :)
ReplyDelete